Yeast in Wine Making: A Practical Guide
What wine yeast actually does in the carboy
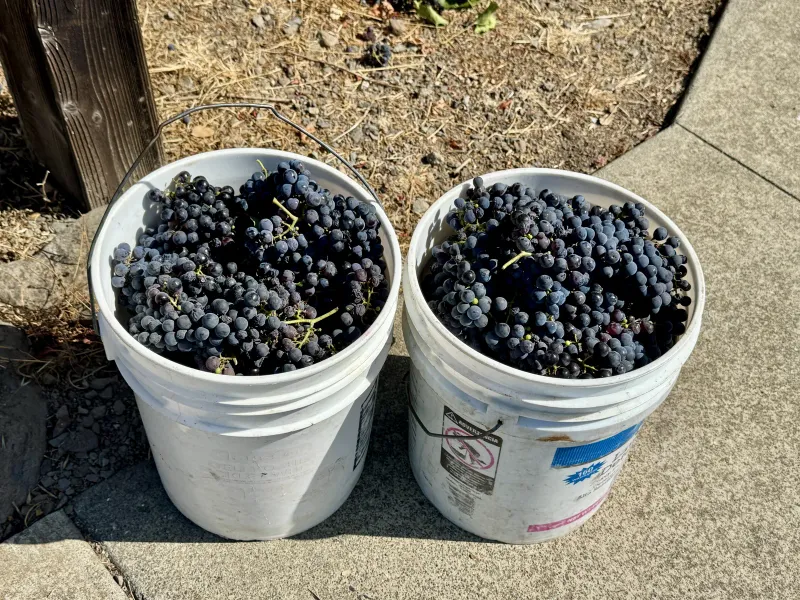
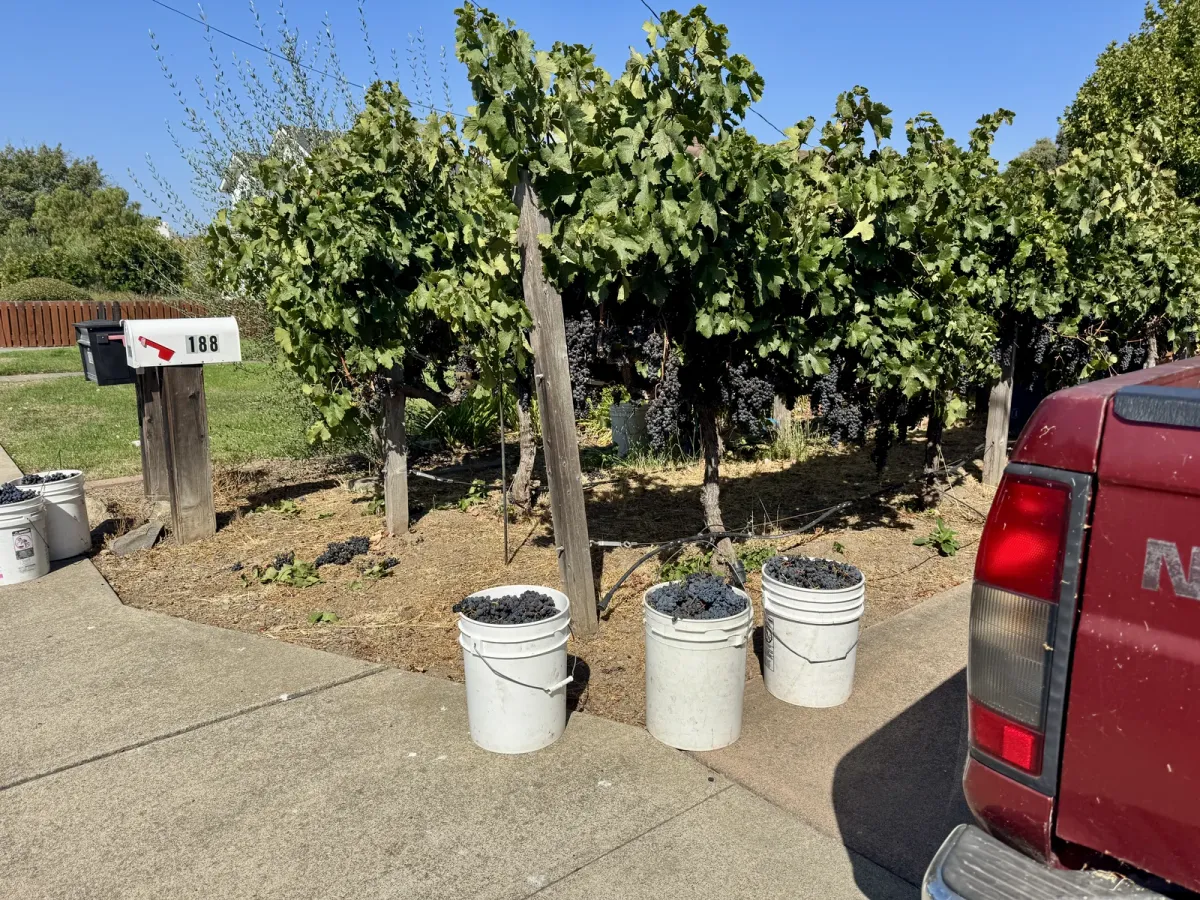
Juice turns into wine because yeast eats sugar and leaves behind alcohol, carbon dioxide, and a long list of aroma compounds. Grapes carry wild yeast on their skins, and some traditional wines still start that way. Most home batches, especially first ones, do better with a packaged wine yeast you choose on purpose.
A packet of wine yeast is not interchangeable with bread yeast. Bread strains are selected to puff dough quickly. Wine strains of Saccharomyces cerevisiae, and a few close cousins such as Saccharomyces bayanus, are selected to finish a sugar-rich must, tolerate alcohol, and leave a cleaner flavor. Using grocery-store bread yeast in a five-gallon batch is a common experiment and a common reason a wine smells yeasty or stops halfway.
The “best yeast for wine making” depends on the fruit, the sugar level, the temperature you can hold, and the style you want in the glass. There is no single winner.
How packaged wine yeast is grouped
Producers sell strains under trade names you will see on home-brew shelves: Lalvin, Red Star, Mangrove Jack's, and others. The label matters less than the job the strain was bred to do. Think in jobs, not in brand loyalty.
| Job in the cellar | Typical style it suits | What to check on the packet |
|---|---|---|
| Clean, neutral ferment | Simple white wines, fruit wines where you want the fruit to lead | Alcohol tolerance, recommended temperature band, “neutral” or “clean” wording |
| Aroma-forward white or rosé | Gewürztraminer-style whites, floral fruit wines, early-drinking rosés | Mentions of esters, thiols, or “aromatic”; cooler recommended range |
| Structured red | Grape reds you plan to age, heavier berry wines | Alcohol tolerance, ability to ferment at a slightly warmer range, notes about mouthfeel |
| Sparkling or a stuck batch | Secondary fermentation in the bottle, or restarting a sluggish wine | High alcohol tolerance, often a bayanus or “champagne” type strain |
| High-sugar or dessert must | Late-harvest juice, mead, very ripe fruit | Stated alcohol tolerance and a note about needing extra nutrient support |
Those rows are a starting map, not a laboratory ranking. Read the packet. If it lists a temperature range, treat that as a working window, not a dare. A white fermented too warm can smell like banana candy. A red fermented too cold can sit for weeks with a thick layer of sugar still in it.
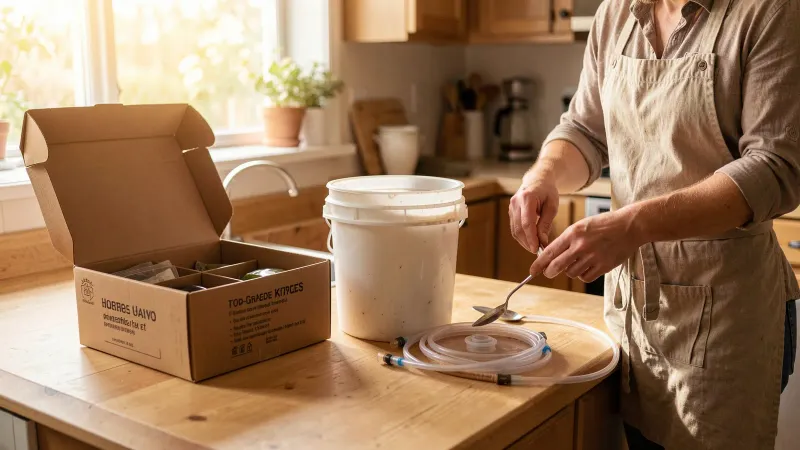
If you are making a first homemade wine from a kit, use the yeast in the box unless it is past its date or was stored hot. Kits are built around a particular strain. Swapping mid-kit is how people end up with a ferment that never quite matches the instructions.
Wine making yeast nutrient, and why juice is not always enough
Grape juice is a reasonably complete diet for yeast. Many fruit juices are not. Apples, berries, honey, and some supermarket concentrates are short on nitrogen and micronutrients. When yeast starves, it produces off aromas, or it simply quits. That is the job of wine making yeast nutrient: to feed the culture so it can finish.
Nutrient blends vary. Some are mostly nitrogen sources. Others add vitamins, minerals, and inactivated yeast hulls. “Fermaid” and “Go-Ferm” style products are commonly sold under those names; treat the brand as a label, and follow the dose on the package for your batch size. Do not invent a dose from memory, and do not dump the whole container into a one-gallon jug “to be safe.” Too much nutrient can be as messy as too little, and leftover nitrogen is not something you want in a finished bottle.
A practical pattern that many home winemakers use:
- Rehydrate the yeast in clean water at the temperature the packet describes, or sprinkle it if the producer says the strain can be pitched dry.
- If the producer sells a rehydration nutrient, use that in the rehydration water, not later in the must.
- Stir a fermentation nutrient into the must after the yeast has started working, in split additions rather than one heavy dose, if the instructions allow it.
- If the ferment smells like rotten eggs, that can be a hunger signal. Check temperature and nutrient first, before you assume the batch is ruined.
Kits often already contain nutrient. Adding a second, full dose on top of a kit is a frequent mistake.
Rehydration, pitching, and a few persistent myths
Myth one: more yeast always means a faster, cleaner wine. A reasonable pitch of fresh yeast is enough. Overpitching can flatten aroma. Underpitching, or pitching old yeast that sat in a hot garage, is more often the problem.
Myth two: every five-gallon batch needs a large, separately grown starter. High-sugar musts sometimes benefit. Most standard grape or kit wines do not, if the packet is fresh and you rehydrate as directed.
Myth three: a busy airlock means fermentation, and a quiet one means the batch is dead. Airlocks leak, and a ferment can move with only a lazy bubble. Use a hydrometer. Specific gravity tells you whether sugar is still falling.
Keep the must under an airlock once fermentation is underway, so carbon dioxide can escape and fruit flies cannot move in. Stir only as the recipe requires, with a clean spoon, and keep the temperature as even as your house allows.
A working checklist before you pitch
Use this as a paper checklist the night before you open the packet.
- Fruit, juice, or kit is prepared and the starting gravity is written down
- The yeast packet is in date and has been stored cool and dry
- You have read the strain’s temperature range and can hold the vessel inside it
- Water for rehydration is measured and at the temperature the packet calls for
- Nutrient, if needed, is measured for this batch size and is not a second full dose on a kit that already includes it
- The vessel, airlock, and spoon are clean and rinsed of detergent
- You have somewhere the ferment can sit undisturbed, out of direct sun
- You know the federal and state limits that apply to a household batch, which are not the same thing
If any line fails, delay the pitch. Yeast is cheap. A spoiled five-gallon batch is not.
Federal rules for wine made at home
Choosing yeast does not put you outside the law, but the batch itself has limits. Under federal rules administered by the Alcohol and Tobacco Tax and Trade Bureau, an adult may produce wine for personal or family use, and not for sale, without paying federal excise tax, up to a household cap. The cap is 100 gallons per calendar year if one adult lives in the household, or 200 gallons if two or more adults live there. For this rule, an adult is 18 or older, unless a stricter local age for buying wine applies, in which case that higher age is the one that counts.
The wine may be taken off the premises for personal or family use, including a home-winemaker contest or tasting. It may not be sold or offered for sale under any circumstances. State and local law can be stricter than the federal exemption, and the federal rule does not authorize a batch that breaks those laws. The official text is in 27 CFR 24.75, and the bureau also explains home production in its Wine FAQs.
This article is about yeast, not about starting a commercial winery. If you ever want to sell a bottle, you leave the household exemption and enter a different set of permits. Also, federal law does not give a similar household exemption for distilled spirits. Do not “borrow” a wine recipe as an excuse to distill.
After the ferment, what the yeast still needs from you
Once gravity readings stay the same, the yeast has done its main job. Give the wine time to settle, then rack off the heavy sediment once the wine has begun to clear. A long stay on a thick cake of dead yeast can pick up stale flavors. Keep the receiving vessel topped up.
Do not bottle a wine that is still sweet and still has living yeast in it unless you have a plan to stabilize it. Residual sugar plus healthy yeast plus a closed bottle is how people end up with geysers, or broken glass. Kits usually tell you when to stabilize. Follow that, or keep the wine dry.
If a ferment sticks — gravity stops falling while sugar remains — check temperature, the age of the packet, nutrient, and the starting sugar level before you pitch a second strain. A high-tolerance yeast can sometimes restart a stuck batch, but only after you fix what stopped the first one.
Questions about choosing yeast for a homemade wine
Can I use bread yeast if I ran out of wine yeast?
You can, and people have, but it is a poor default. Bread yeast is not selected for the alcohol levels or flavors of wine. If the shop is closed and the juice is already waiting, keep the batch cool, make a smaller test jar, and buy a proper wine strain as soon as you can, rather than committing five gallons to a loaf strain.
Do I need yeast nutrient in every grape batch?
Not always. Fresh grape must often has enough nitrogen for a straightforward ferment, especially if you pitch a healthy culture. Fruit wines, honey, and many concentrates are a different story. If the producer of your kit or nutrient blend says the product is already included, do not stack another full dose on top.
How do I store leftover yeast packets?
Keep unopened packets cold and dry, ideally in the refrigerator, and respect the date on the package. An opened packet is a gamble. Yeast is a living culture, and a half-used envelope that sat on a warm shelf is not a reliable pitch for a batch you care about.
What if my wine smells like sulfur during fermentation?
A sulfur smell can appear when yeast is stressed, often from a lack of nutrient, a temperature swing, or a lagging start. Check the temperature, confirm the ferment is moving with a gravity reading, and follow the nutrient instructions if the must usually needs feeding. If the smell persists after the wine is dry, ask a local winemaking shop before you try aggressive fixes.